Kia Ora whanau and first off I have to apologize for not writing in like two to three years.
I’ll admit I just lost the drive to keep up with the podcast, life and writing as well. That is not to say I’m not back but I thought I owe it to you to let you all know what I have been up to since my last post … which was September 23rd 2021.
So lets get into it.
First off, if you want to know more about what I have done in more detail you can listen to my podcast on Spotify or on my new preferred platform YouTube.
This is the link to my YouTube Channel where you will find all of my videos as well as my podcast.
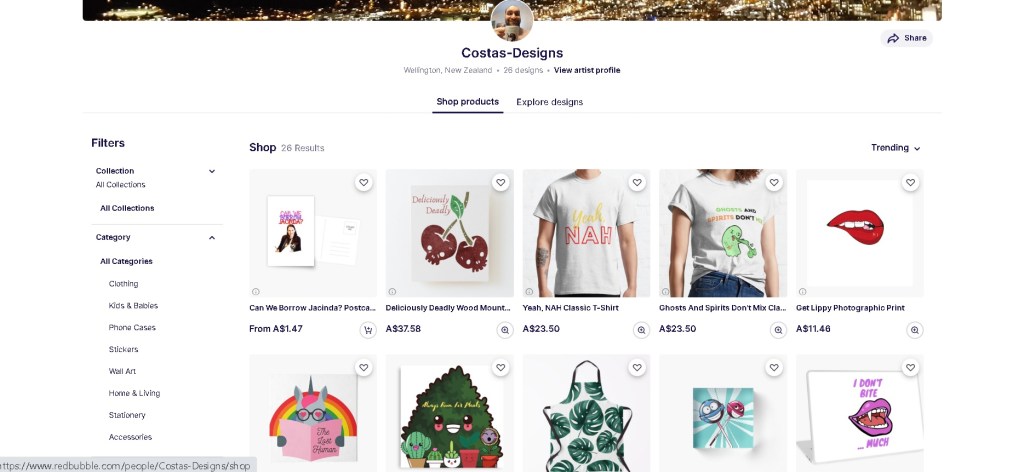
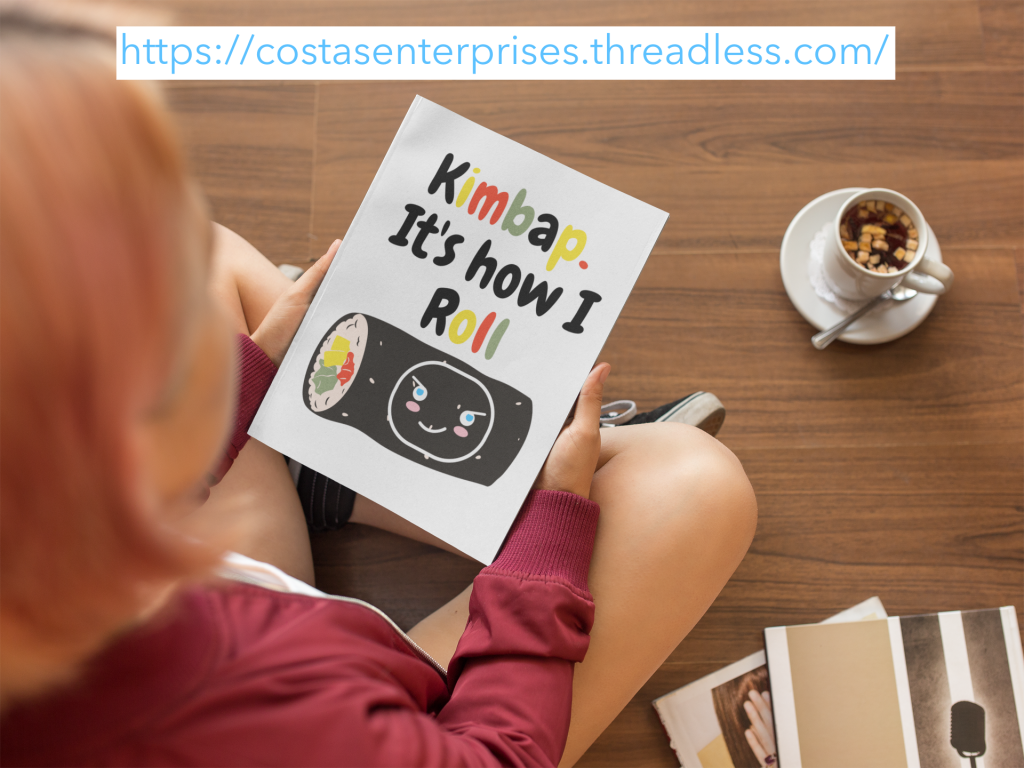
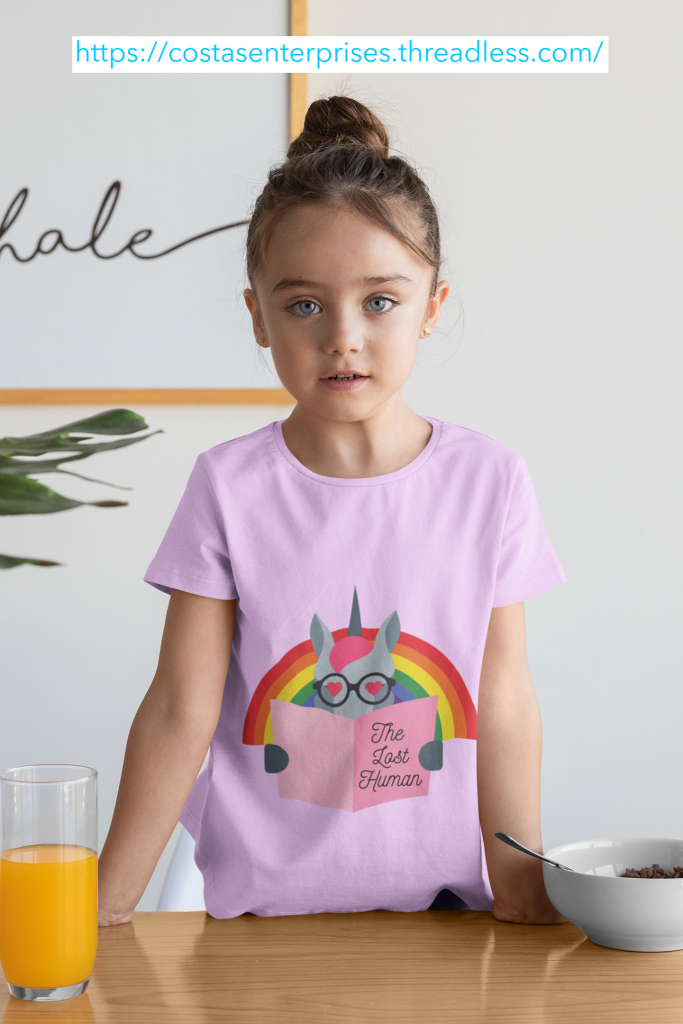
I talk about a lot on my podcast including what has happened to me, my journey from being employed for the Government, my investing journey, my passive income journey, my print on demand results as well as my mental health. All of which is the reason I wanted to make this blog successful, however I fell off the wagon and didn’t write.
I take full responsibility for my actions and am truly sorry I didn’t keep writing.
Overall what has happened to me since 2021 – I worked for the Government in New Zealand until they made me redundant in April 2023. I was, at the end of my government career, an ICT trainer that was told that everything I taught could be done through YouTube. Lets just say I doubt very much that they actually found a YouTube replacement for myself.
During the time before my redundancy I continued my passive income focusing more on trying to grow my Sharesies Investments and learning more and more about how and what I should try to invest in.
I tried my hand at Crypto, NFT’s (Non Fungible Tokens) and I’ll admit it didn’t really work out for me but that is not to say that I don’t think NFT’s don’t have their space or their future in the world.
I focused more about learning about shares, investing and trying to grow my KiwiSaver (this is New Zealand’s answer to our retirement scheme (like a 401K in USA)). I have done ok for myself and document my journey through my previous mentioned podcast “Get a job and get healthy with Costas Enterprises” specifically in a playlist I call Investing in Shares for Dummies, by a Dummy! Which I have linked here.
Also during this period I lost my last remaining family member which was my mother. I was heartbroken and truly lost without her and still miss her to this day and I am sad she is not with me, but I am happy she is no longer in pain.
It was hard because I lost my mother in January 2023 and then 2 months later I got made redundant. My whole identity was that of a man who looked after his mother and had a government job. Just imagine in two months losing your identity, your family and your job and feeling lost.
As I have mentioned I am happy my mother is at peace now and I have a part of her with me everyday and choose to honor her and my father in my own way in my actions. I want her to see what I couldn’t show her and I want them to experience life through me.
As a man during this time I have grown a lot more than I thought I would have. A lot of my growth is thanks to those close and around me, but most importantly is my partner. She is my love, my rock and my universe.
So after 2023 April what did I do with myself I imagine your asking yourself … please ask otherwise the post stops here kind of abruptly!
…
…
(pause long enough to create suspense)
…
…
(remove line above about pausing for suspense)
Well I am glad you asked! (he assumes considering your still reading)
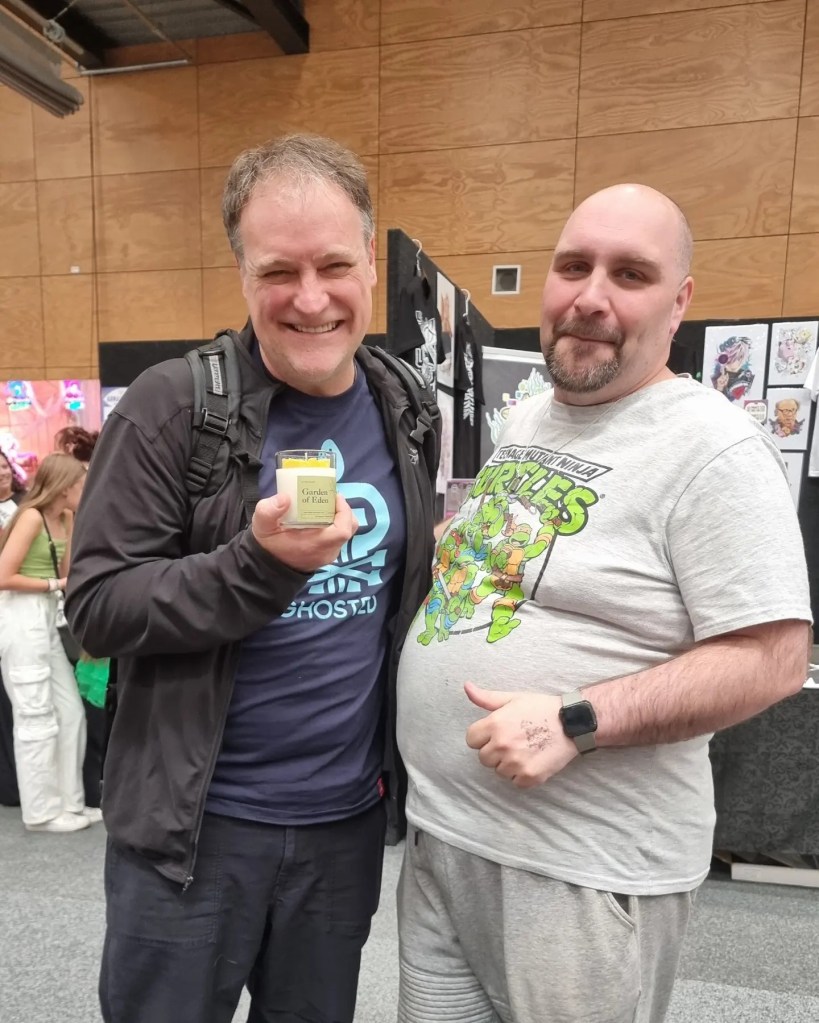
I moved back into my mother’s home (now my home) with my partner and we further refined our coconut wax candle business … I know what your thinking … “Wait What???”
Yes that’s right we started up a candle making business where create and manufacture 100% pure coconut wax candles. You can see them at our website www.anyengarden.com
This was while my partner was still finishing her PhD and I was unemployed living of my redundancy (after working there for almost 20 years you can be sure Alex got his payout!).
This business brought us closer together and helped me realize that I didn’t need a lot of money to survive and also that I could be happier working for myself than for an employer. That is not to say that I didn’t have some amazing bosses during my time at the government but lets just say the one that made me redundant wasn’t exactly my favorite.
We started the business slow and I’m going to be completely open and honest and say that 99.9999% of the business is all my partner at this time. All I really did was talk up the business and then started to be the front person for the business when selling at markets and dealing with communication (stuff my partner doesn’t like doing where possible unless absolutely necessary.)
We built the business up during this time to stock at a local collective (where we still sell today) and where I work part-time, albeit to practice selling and not really for the money as we rely on the candles for our day to day income.
The business even generated enough money for us to travel to Vietnam for five weeks (which I document in my podcast as well).
We now sell at big events such as Armageddon, NZ Home and Lifestyle shows and others across New Zealand and this year ventured to the South Island for a event and will soon be going back in about 6 weeks.
The business has evolved to also combine some geeky things which I love and sell. We make a Pikachu Candle for example and we sell Anime designs, totebags and others. I get paid while working at a convention and get to see people dress up and just feel so happy to see everyone else loving our products.
I know this whole post is sounding like an advert and while their are some plugs in her for my other things I do want to stress that I write this way because I am genuinely passionate and exited for our future. I keep having ideas about what I want us to achieve and my partner does as well. We talk about the future and what it holds and have smiles on our face when we do so.
Another change in my life is something I am truly happy to share and that is I am going to be a dad in around about one month!
We are having a little girl and while I can’t wait to hold her in my arms I am truly terrified about what this means, only joking. I am so happy with where we are going in our life and generally can’t wait to share more and then take this journey with our whanu (family).
In summary I can’t wait to take all these new steps and will try post more. I am sorry for not really posting in three years and will try to post more and fill in any gaps as well.
You can always ask me questions as well if you want to know more about my previous three year absense.
I hope you will continue to follow me down this new chapter of my life and hope you all are doing amazing.
As always, I love you guys and good luck 🙂